Create an Organization Account
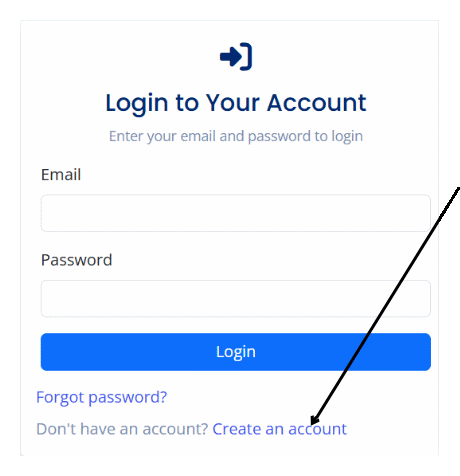
Use the Create an account link on the landing page to start onboarding your organization.
The screen presents two tabs: Organization Information and Administrator Information.
Step 1: Organization Information

Provide complete legal details for your entity.
- Name (required): Official registered business name.
- Email (required): Shared mailbox monitored by your finance team (e.g.,
ifrs17@example.com). - Country (required): Select from the dropdown; defaults to your browser locale.
- Phone (required): Include country code, e.g.,
+254712345678. - Address (required): Physical location for compliance records.
- Postal Address (required): Mailing or P.O. Box reference.
- Postal Code (required): Zip/postal code for your jurisdiction.
- Town/City (required): Main operating city.
- Next: Proceeds to administrator setup.
Step 2: Administrator Information
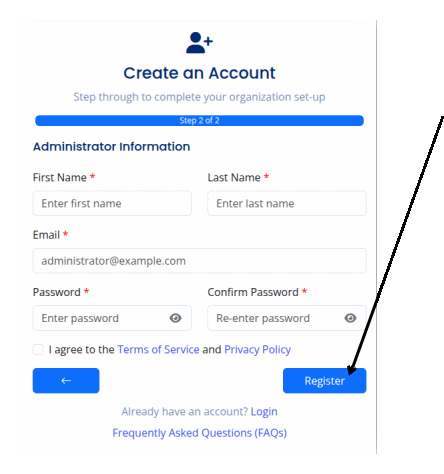
Add the initial administrator who will manage invites and client access.
- First Name / Last Name (required): Matches the person’s legal identity.
- Email (required): Must be accessible; used for verification and password resets.
- Password (required): Minimum 8 characters, at least one letter, number, and symbol.
- Confirm Password (required): Re-enter to avoid typos.
- Accept Terms (required): Check the Terms of Service and Privacy Policy box.
- Back: Return to Step 1 if organization details need edits.
- Register: Submits the entire form.
Once submitted, a confirmation modal appears: “Registration successful. A verification email has been sent to you.”

Open your email (check spam if necessary), click the verification link, and wait for the Verifying link… screen to complete. A final alert, “Email verified. You can now login,” confirms activation.